Example Limewash Projects in Kirkland

Each example walks through a limewash job from the first request to the finished wall: the surface, how big it is, what the work involves, how long it takes and roughly what it would cost. Most of the houses date from 1960 to 1999, the decades in which nearly two-thirds of Kirkland homes were built.

These are examples, not past jobs, clients or addresses. They are put together from local house ages, the preparation each surface usually needs and current price ranges, so you know what to expect before you ask for a quote.

Brick fireplace in a 1990s family room

Example project
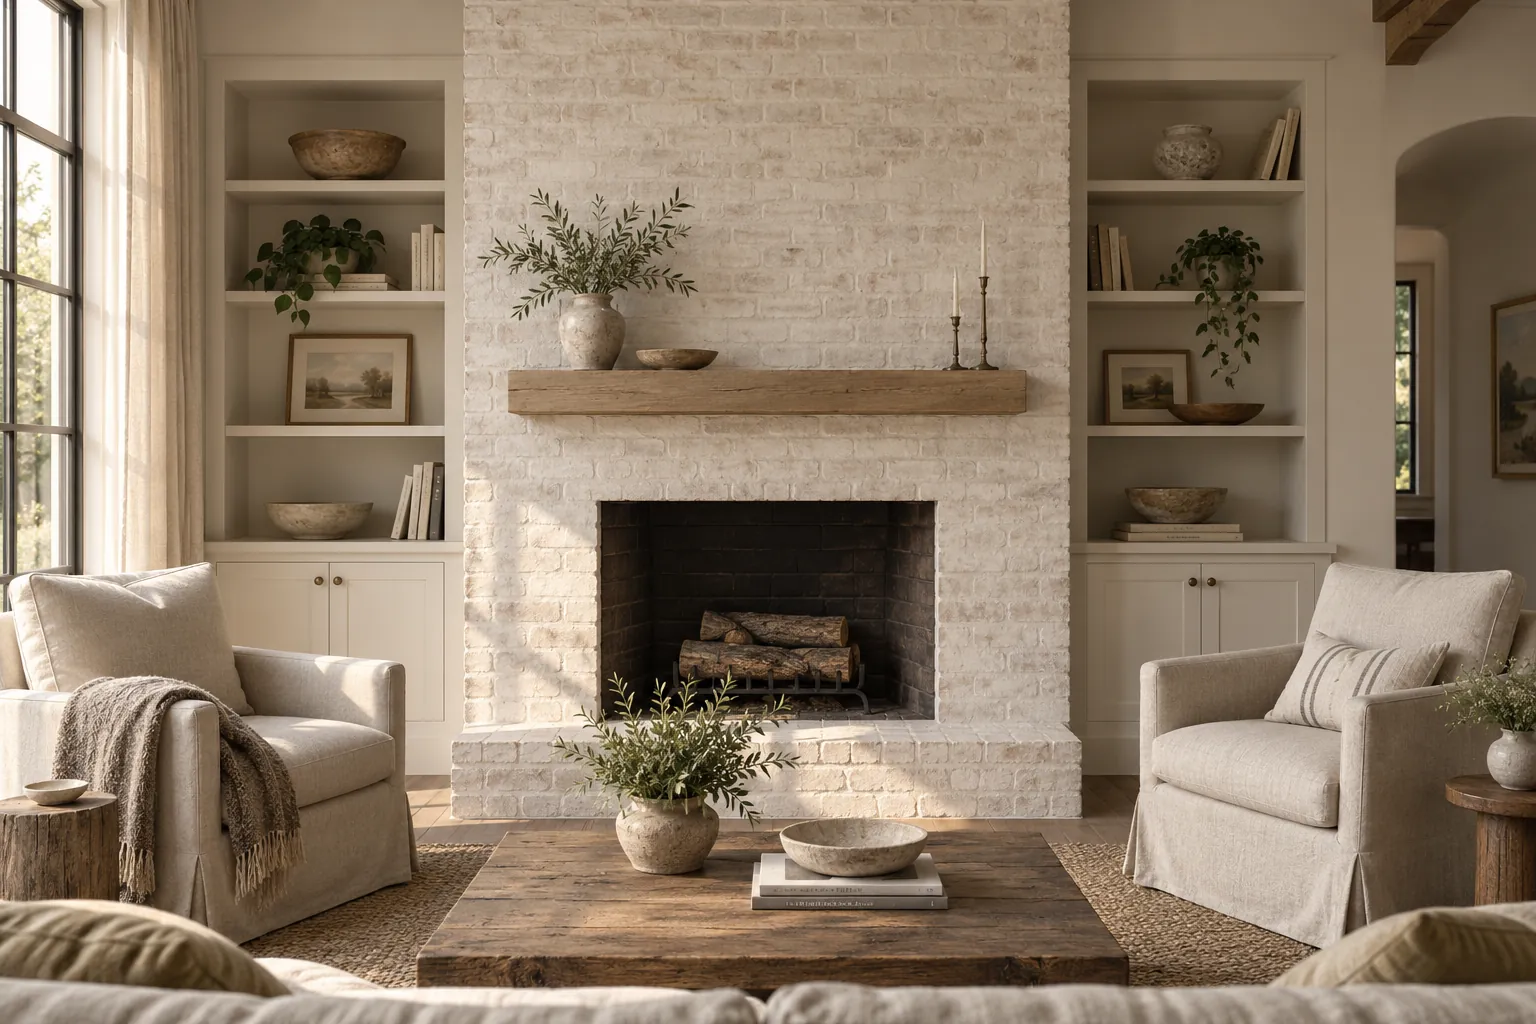
Living room brick fireplace limewashed in chalky warm white
Home
1990s two-story house, high-ceilinged family room with built-in shelves
Original request
Paint the orange brick white
Surface
Floor-to-ceiling brick surround and raised hearth face
Area
About 120 sq ft of brick
Existing finish
Bare brick, with soot above the opening
Finish
Mineral limewash in a warm chalk white, two coats
Timeline
Two working days, plus a short visit about two weeks later
Estimated cost
$1,900

Scope of work

Protection of the floor, built-ins and side walls; soot cleaning above the opening; sample boards on spare bricks; two brushed coats with the brick dampened between them; a clear protective topcoat on the raised hearth; clean-up. The firebox interior and the mantel shelf stay unfinished.

Project overview

In this example, the owners want the dated orange brick gone, and their first thought is white paint. Paint would flatten the mortar lines and leave a film that chips at the corners, so the plan is limewash: lighter in color, but still reading as brick.

Soot above the opening is the main preparation job, because lime brushed over soot lets a gray shadow show through pale colors. Two coats of warm chalk white follow, kept slightly thinner over the darker bricks so some variation stays visible.

The goal

The goal is a soft chalk-white surround where the brick shapes and mortar joints still show, so the fireplace matches the room’s lighter walls instead of being the darkest thing in it.

Process

  1. Before work Two sample bricks brushed in two whites, checked in daylight and lamplight once dry.
  2. Day one Floors and shelves protected, soot cleaned off, brick dampened and the first coat brushed on.
  3. Day two Second coat, a light wipe-back on the edges of the bricks for depth, and clean-up.
  4. Afterwards The color settles paler over several days; the fireplace can be used again once the product’s cure time has passed.
  5. 10 to 14 days later A short visit to brush the clear topcoat onto the raised hearth.

Planning right

  • Wipe a damp white cloth on the brick above the opening. If it comes away gray, plan for extra cleaning time.
  • We leave the inside of the firebox bare. Fire scorches lime and covers it in soot, and the limewash maker Romabio advises against it.
  • A hearth people sit on or set drinks on needs a protective topcoat, or it will mark.
  • Darker bricks absorb less and take the color more lightly. Most owners like that, but see it on a sample brick first.
Request a free quoteMore about limewash fireplaces

Whole exterior of a two-story brick house

Example project

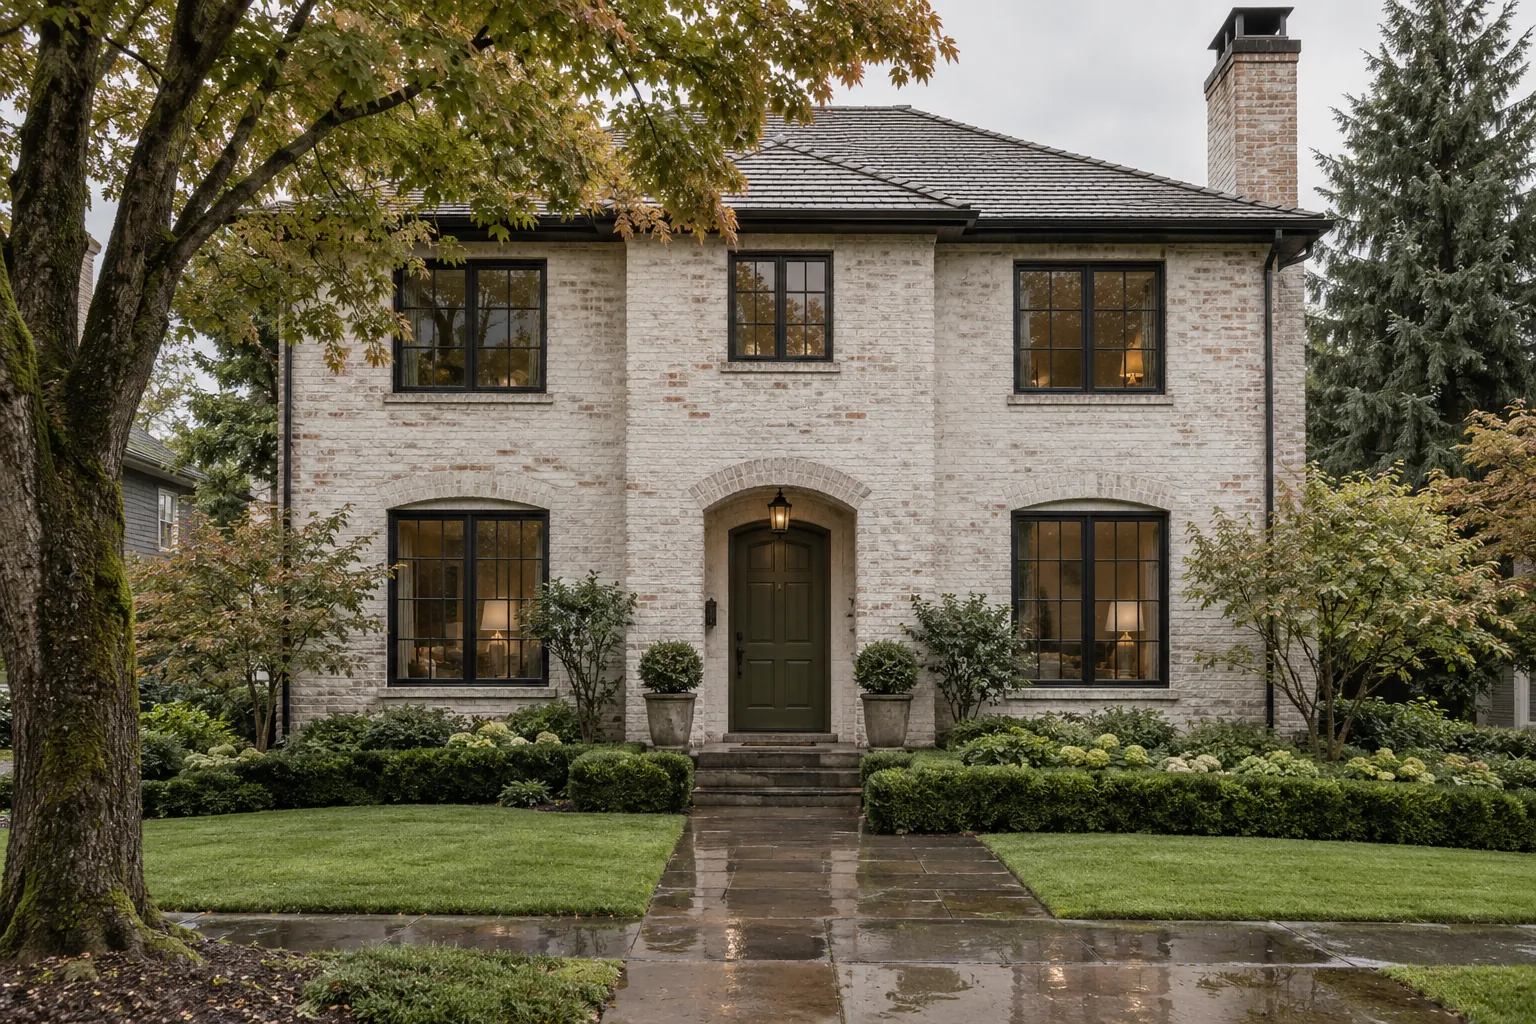
Brick house limewashed in soft warm white beside evergreen trees
Home
Two-story brick house with a brick chimney
Original request
Soften the red brick without painting it
Surface
Brick on all four sides and the chimney
Area
About 2,000 sq ft of brick
Existing finish
Bare brick, with moss on the shaded north side
Finish
Exterior limewash in soft warm white, two coats
Timeline
Five to seven working days without rain, with scaffolding
Estimated cost
$11,800

Scope of work

Gentle washing and hand removal of moss; scaffolding on the two-story walls and around the chimney; protection of windows, doors, trim, paving and planting beds; a sample patch on the north side; dampening before each coat; two brushed coats; touch-ups after the scaffolding comes down.

Project overview

In this example, the owners like their brick house but find the red brick heavy against the evergreens around it. They want it lighter without a paint film that would need scraping and repainting later.

The work is planned for July or August, the driest months in the nearby NOAA normals, because lime needs rain-free days after each coat to cure. Moss is washed and brushed off by hand before any lime goes on, and on a two-story house scaffolding is one of the bigger costs.

The goal

The goal is a soft warm-white house that still reads as brick, with darker bricks showing faintly through and the chimney matching the walls.

Process

  1. Two weeks before Sample patch brushed on a low corner and checked after a week of drying.
  2. Day one Moss and dirt washed and brushed off by hand; the walls left to dry.
  3. Day two Scaffolding up; windows, doors and plants protected.
  4. Days three and four Walls dampened and the first coat brushed on, one side at a time, working away from the sun.
  5. Days five and six Second coat, including the chimney from the scaffold.
  6. Final day Scaffolding down, touch-ups and a walk-round, with spare limewash left for later touch-ups.

Planning right

  • Watch the forecast, not the calendar: makers ask for clear weather for one to three days after each exterior coat.
  • Salt bloom (white crust on the brick) means water is moving through the wall. Find the cause, such as a gutter or sprinkler, before limewashing.
  • Lime is caustic while wet, so plants, paving and windows are covered and rinsed.
  • Expect exterior limewash to thin slowly on the weather side. A refresh coat years later goes straight on without stripping.

Request a free quoteMore about limewash brick

Living room and two-story stair hall in a 1990s house

Example project

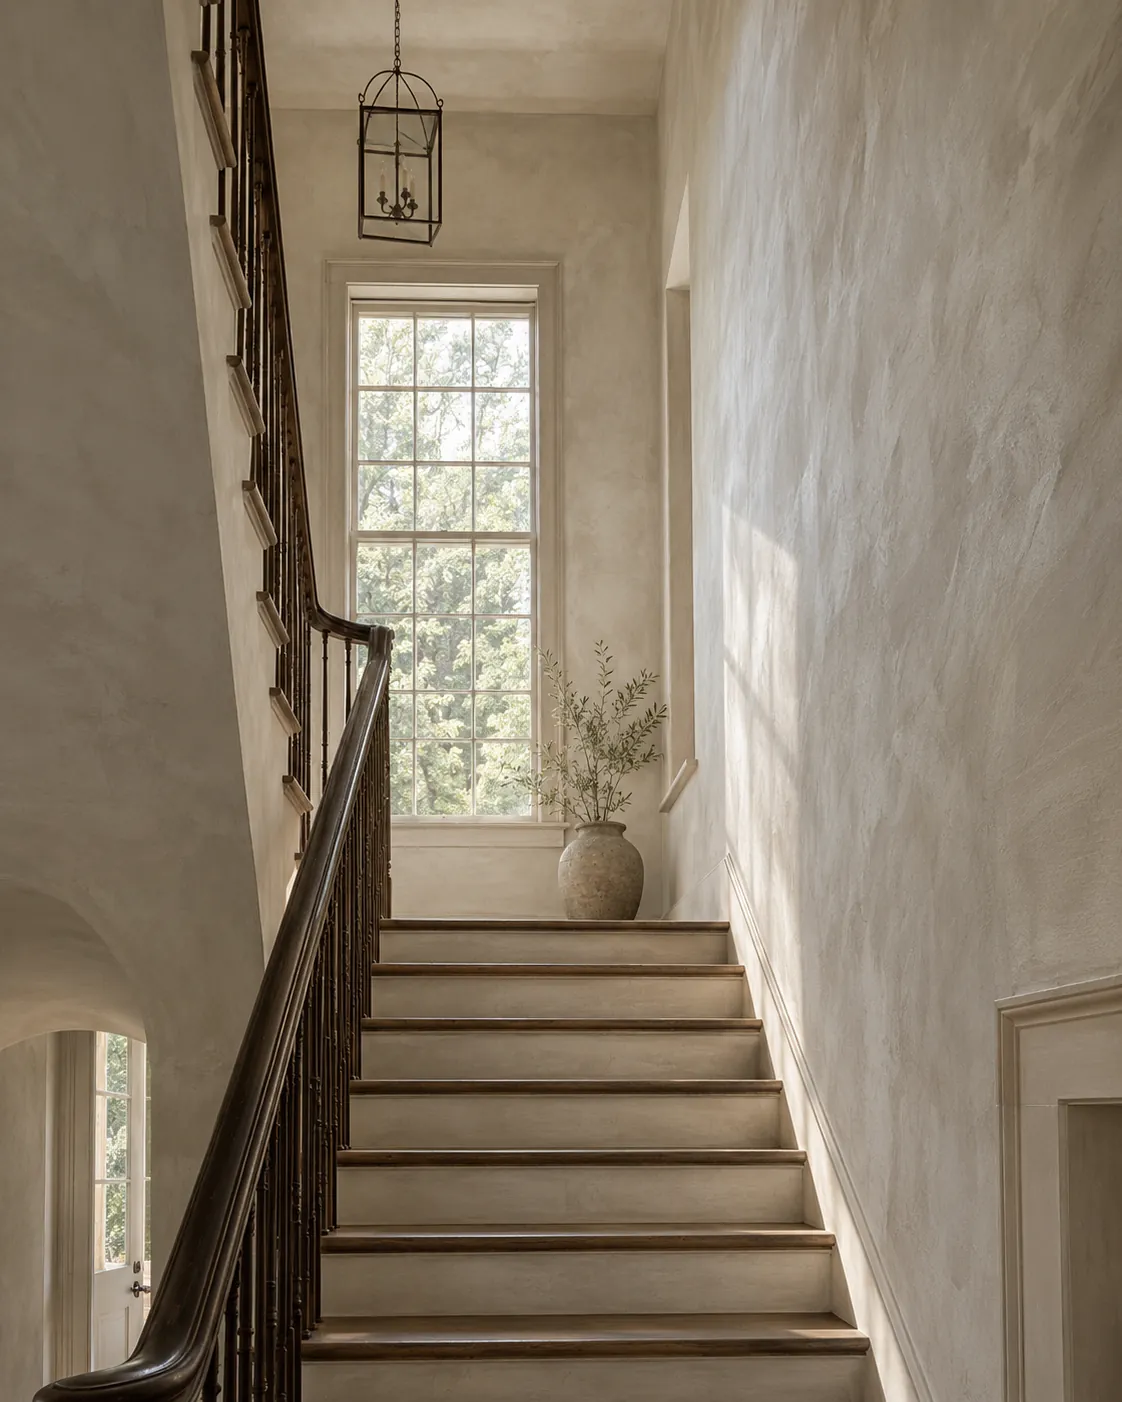
Tall stair hall finished in oatmeal limewash with a dark wooden handrail
Home
1990s two-story house
Original request
A plaster look in the entry and living room
Surface
Painted drywall with orange-peel texture
Area
About 1,000 sq ft of wall, including a two-story stair hall
Existing finish
Eggshell latex paint
Finish
Mineral primer, then a lime paint made for interiors in oatmeal, two coats
Timeline
Four to five working days
Estimated cost
$7,200

Scope of work

Cleaning and dulling the eggshell paint, filling nail pops and dents, the primer system the product needs over latex, two brushed coats, a scaffold tower in the stair hall, and full masking of floors, stair treads, trim and the handrail.

Project overview

In this example, the owners have seen Venetian plaster but want something softer and less expensive. Limewash gives the cloudy, moving surface they like, but it cannot hold onto latex paint by itself, so the job starts with the primer system the product calls for.

The two-story stair hall sets the schedule. A tall wall has to be brushed in one continuous pass or the joins show, so two people work it from a scaffold tower, top to bottom, without stopping.

The goal

The goal is a warm oatmeal finish that clouds gently up the stair hall and carries into the living room without a hard line, quiet enough to sit behind the dark handrail and floors.

Process

  1. Before work Three sample boards in oatmeal, greige and chalk, viewed on the stair wall morning and evening.
  2. Day one Masking, patching and cleaning; the scaffold tower set up in the stair hall.
  3. Day two Primer on all walls.
  4. Day three First coat, finishing one wall at a time without breaks.
  5. Day four Second coat, starting with the tall wall while both painters are fresh.
  6. Day five Tower down, touch-ups, masking off and a final look in evening light.

Planning right

  • Ask which product is being used: some limewash is for bare masonry only and will not stick to painted walls, even with a primer.
  • Big windows on a stair landing show every lap mark in raking light, so the brush direction is planned for that wall.
  • Limewash is not scrubbable. Where hands touch the wall beside the stairs, a washable lime product or topcoat is worth the extra cost.
  • Fill nail pops first: the soft finish hides small texture but not dents.

Request a free quoteMore about interior limewash walls

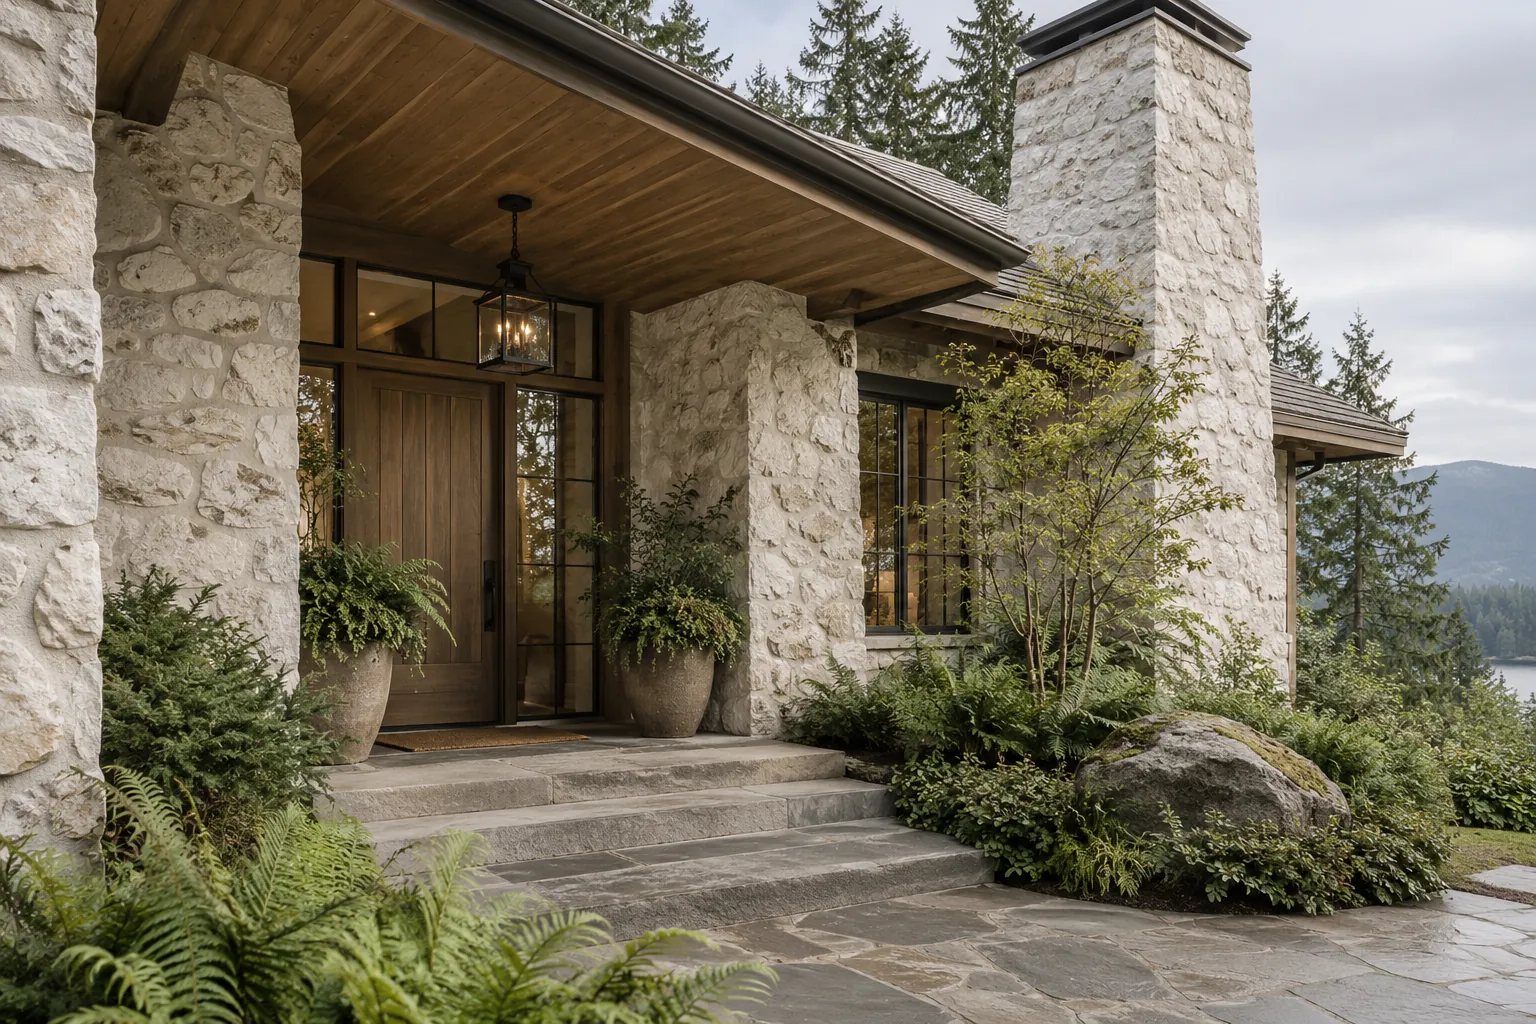
Stone entry and chimney on a 1980s house

Example project

Fieldstone entrance and chimney limewashed in soft bone white
Home
1980s single-story house with a covered entry
Original request
Tone down a busy mix of stone colors
Surface
Stone veneer on the front walls, entry columns and chimney
Area
About 450 sq ft of stone
Existing finish
Unsealed stone veneer
Finish
Bone-white limewash, thinned first coat and one full coat
Timeline
Two to three working days
Estimated cost
$3,400

Scope of work

Cleaning, a water-drop absorbency test on several stones, protection of the door, windows and plantings, a thinned first coat, a fuller second coat with extra brushing into deep joints, and ladder work on the chimney.

Project overview

In this example, the stone mixes browns, grays and rust tones, which makes the entry look busy. The owners want it calmer but do not want to lose the texture, which rules out paint.

A thinned first coat evens out the colors while letting the stone faces show. The second coat goes on fuller over the darkest stones only, so the house reads as one color from the street and as stone up close.

The goal

The goal is a calm bone-white front where the stone shapes and shadows still read, and a chimney that no longer competes with the front door.

Process

  1. Before work Water drops on several stones to confirm they absorb; one board brushed thin and one full.
  2. Day one Cleaning, protection and the thinned first coat on the front walls and entry columns.
  3. Day two The chimney from ladders, then a fuller second coat where the color still jumps.
  4. Day three Clean-up and a check in afternoon light, when deep joints show any missed spots.

Planning right

  • If water beads on the stone instead of soaking in, it is sealed or too dense, and limewash will not bond without more preparation.
  • Deep joints take far longer to brush than flat faces. That, more than square footage, sets the price of stone work.
  • Decide how much stone should show before work starts, on a board or test patch: a thin first coat cannot be made thinner afterwards.

Request a free quoteMore about limewash stone

Faded stucco exterior on a 2000s single-story house

Example project

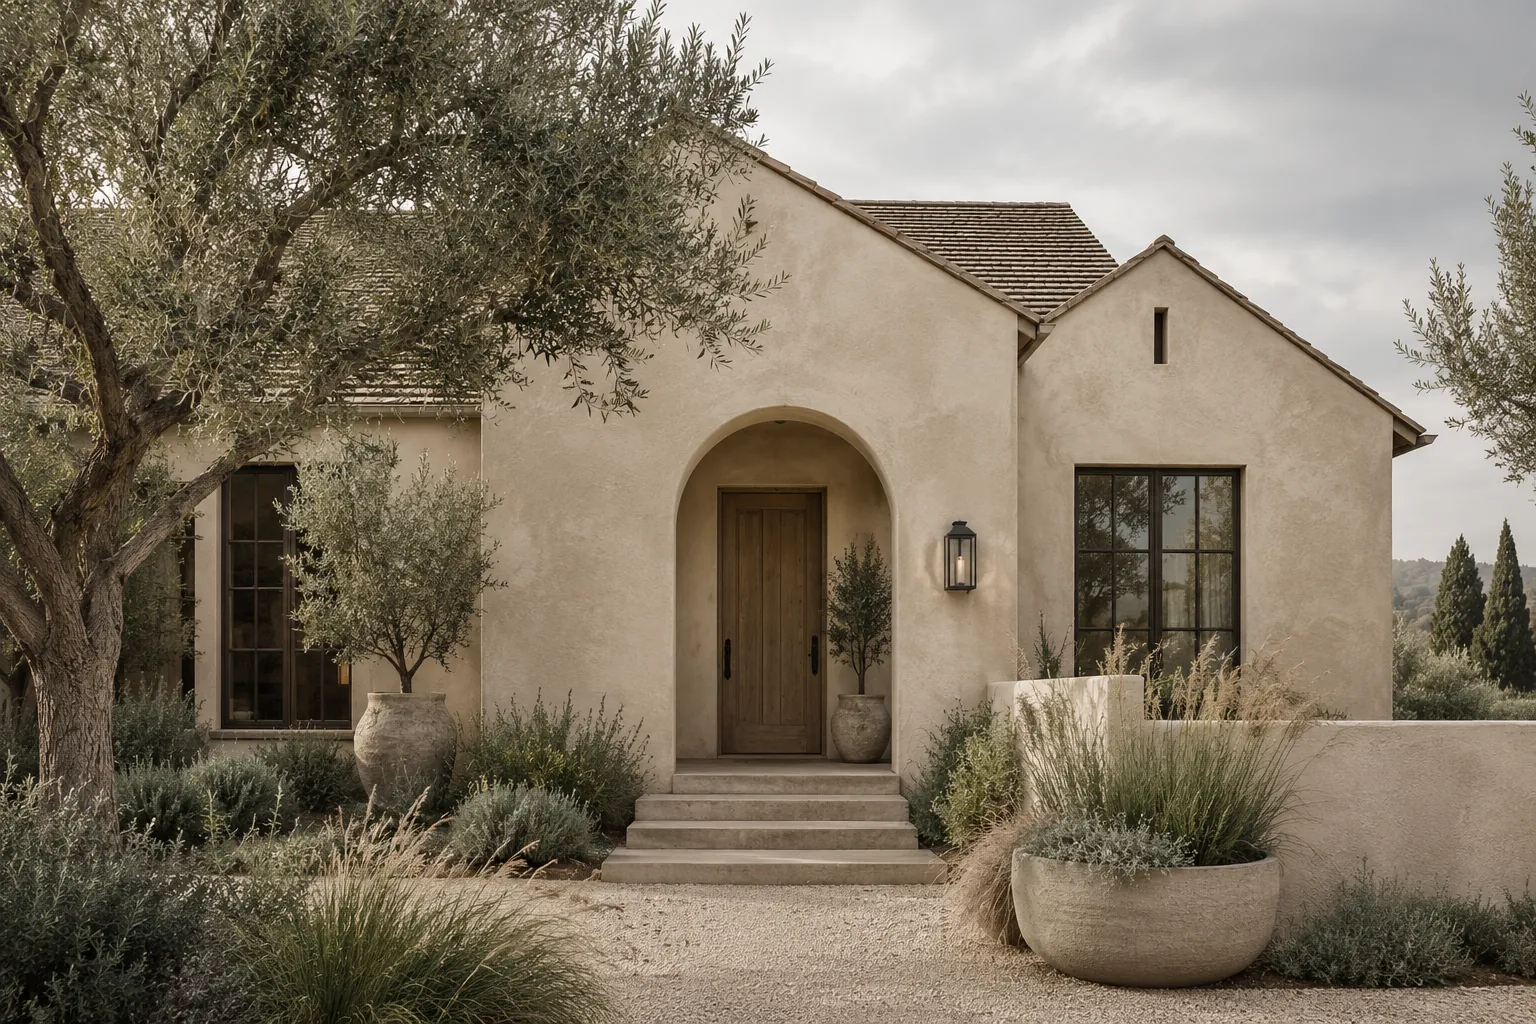
Stucco cottage finished in warm sand-colored limewash
Home
2000s single-story house
Original request
Refresh faded, stained stucco without a plastic look
Surface
Unpainted cement stucco with hairline cracks
Area
About 1,100 sq ft of stucco, plus a low garden wall
Existing finish
Integral-color stucco, faded and water-stained
Finish
Exterior limewash in warm sand, two coats
Timeline
Four to five working days
Estimated cost
$6,900

Scope of work

Low-pressure washing and stain cleaning, filling hairline cracks, a test for previous coatings, ladder work on the gables, protection of windows, the front door, trim and plantings, dampening, and two brushed coats.

Project overview

In this example, the stucco has faded unevenly and shows water stains under the windows. Elastomeric paint would cover it but seal the wall in a rubbery film, so the owners are choosing limewash for its matte, mineral look.

The first check is whether the stucco has ever been painted or sealed, since lime will not soak into a coating. Here it has not, so the cracks are filled, the walls washed, and the coats go on during a week without rain, one side of the house at a time.

The goal

The goal is an even, warm sand color with soft movement across each wall, and no water stains under the windows.

Process

  1. Before work Water test for old coatings, and a sand-colored patch on a side wall.
  2. Day one Washing and stain cleaning; walls left to dry.
  3. Day two Hairline cracks filled and the house protected.
  4. Day three Walls dampened and the first coat brushed on, one side at a time, out of direct sun.
  5. Days four and five Second coat, the garden wall, and a final walk-round.

Planning right

  • Stucco that was painted or coated with elastomeric needs different products or stripping. Test before pricing it as bare stucco.
  • Hairline cracks fill and disappear under lime; wider cracks can mean movement and should be looked at first.
  • White crust or chalky stucco needs cleaning first, and some products call for a specific cleaner before coating.

Request a free quoteMore about limewash stucco and concrete

Interior brick wall in a 1980s dining room

Example project

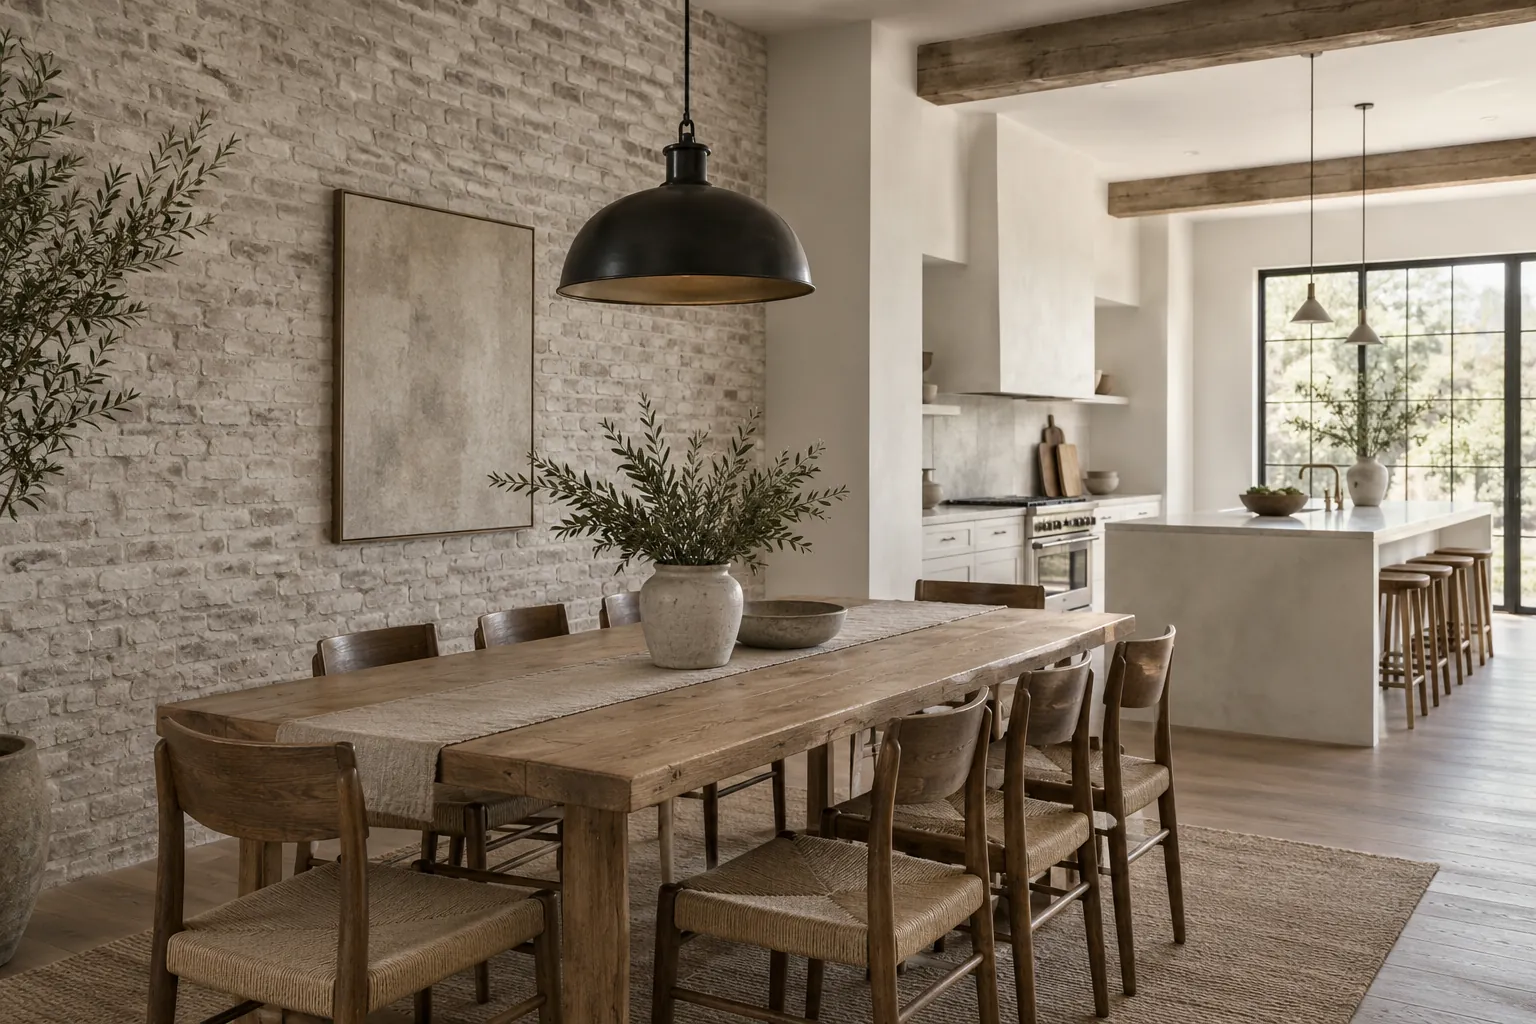
Dining area with an interior brick wall limewashed in pale stone gray
Home
1980s two-story house, open kitchen and dining area
Original request
Make a dark brick wall feel lighter without covering it
Surface
Interior brick feature wall between the dining area and kitchen
Area
About 160 sq ft of brick
Existing finish
Bare brick, dusty and greasy near the kitchen
Finish
Pale stone-gray limewash, two coats, with a clear topcoat at counter height
Timeline
Two working days, plus a short visit about two weeks later
Estimated cost
$1,350

Scope of work

Protection of floors, cabinets and the ceiling; degreasing and dusting the brick; two sample boards; dampening and two brushed coats; a clear protective topcoat on the lower section near the kitchen; clean-up.

Project overview

In this example, the dark red brick makes the dining area feel smaller than the rest of the open-plan floor. The owners like the texture and do not want to plaster over it or paint it a flat color.

Cooking grease near the kitchen end has to be cleaned off first, because lime will not soak into a greasy surface. A pale stone gray keeps the wall from looking stark next to white cabinets, and a clear topcoat on the lower section makes it wipeable where chairs and hands touch it.

The goal

The goal is a pale stone-gray wall that still shows every brick and joint, and makes the dining area as light as the rest of the floor.

Process

  1. Before work Two sample boards in pale stone gray and warm white, set against the cabinets and floor.
  2. Day one Protection, degreasing and dusting, then the brick dampened and the first coat brushed on.
  3. Day two Second coat and clean-up.
  4. 10 to 14 days later A short visit to brush the clear topcoat onto the lower section.

Planning right

  • Grease and old dust stop lime soaking in. The kitchen end usually takes as long to clean as to coat.
  • Plain limewash marks where people lean or chairs rub. A clear topcoat on that band keeps it cleanable.
  • Interior brick under artificial light shows color differently than in daylight; look at the boards in the evening too.

Request a free quoteMore about limewash brick

More limewash finishes

Concept images of limewash on rooms, masonry and commercial interiors, for choosing a direction before you test sample boards on your own walls.

Interior walls and rooms

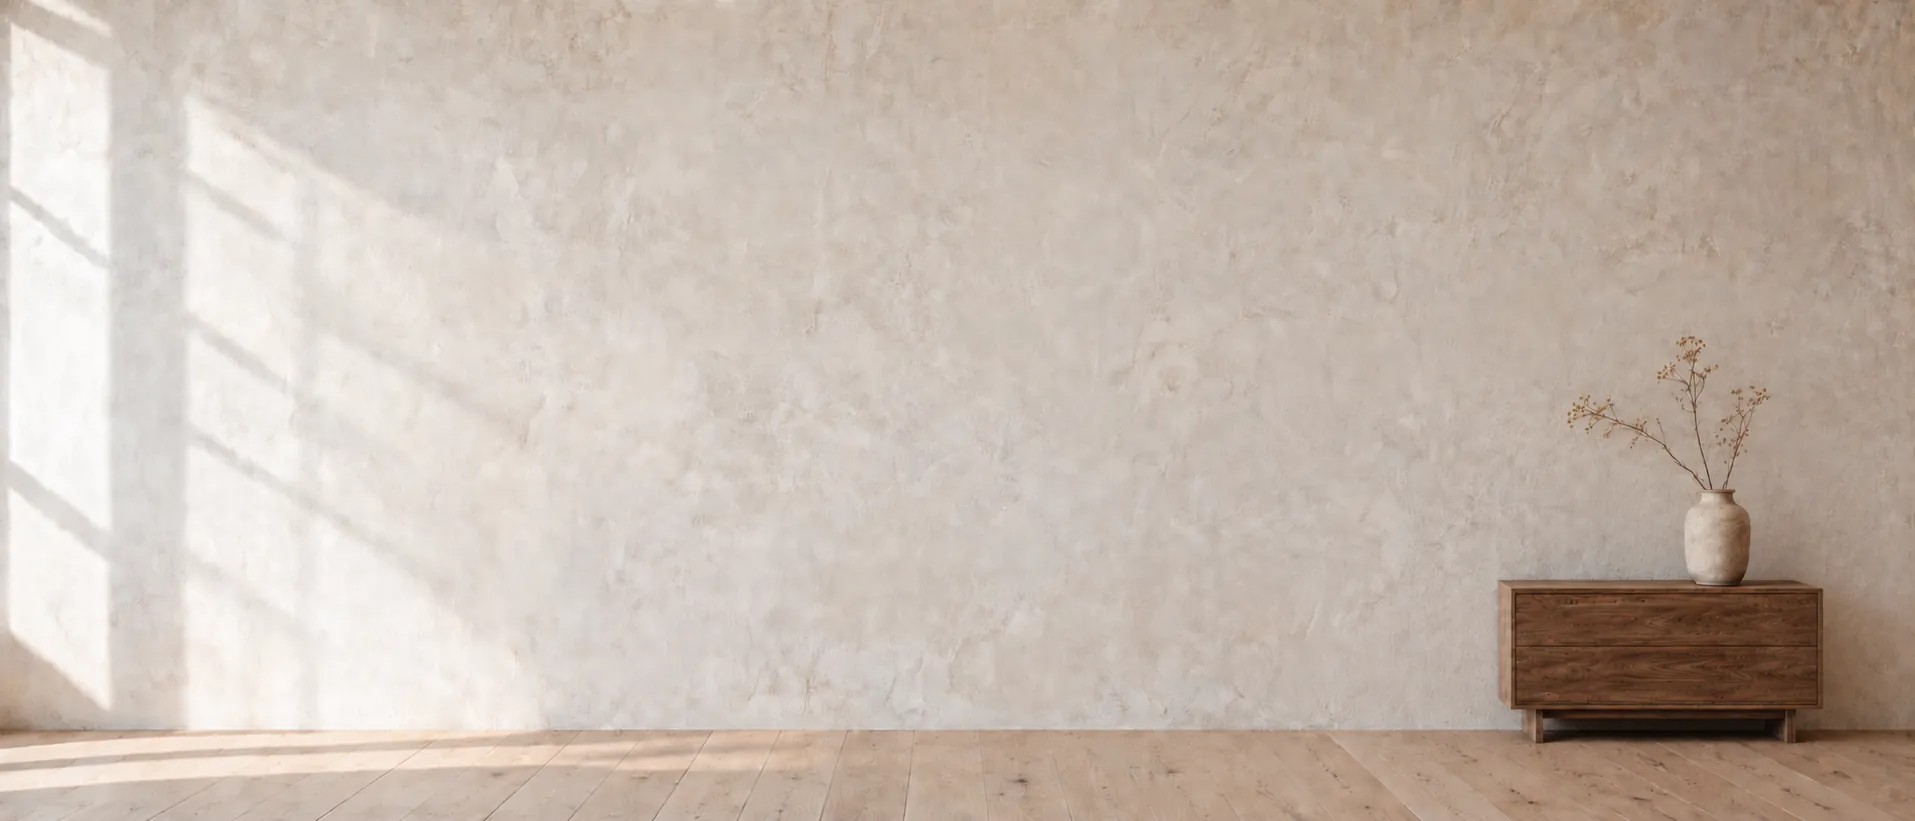
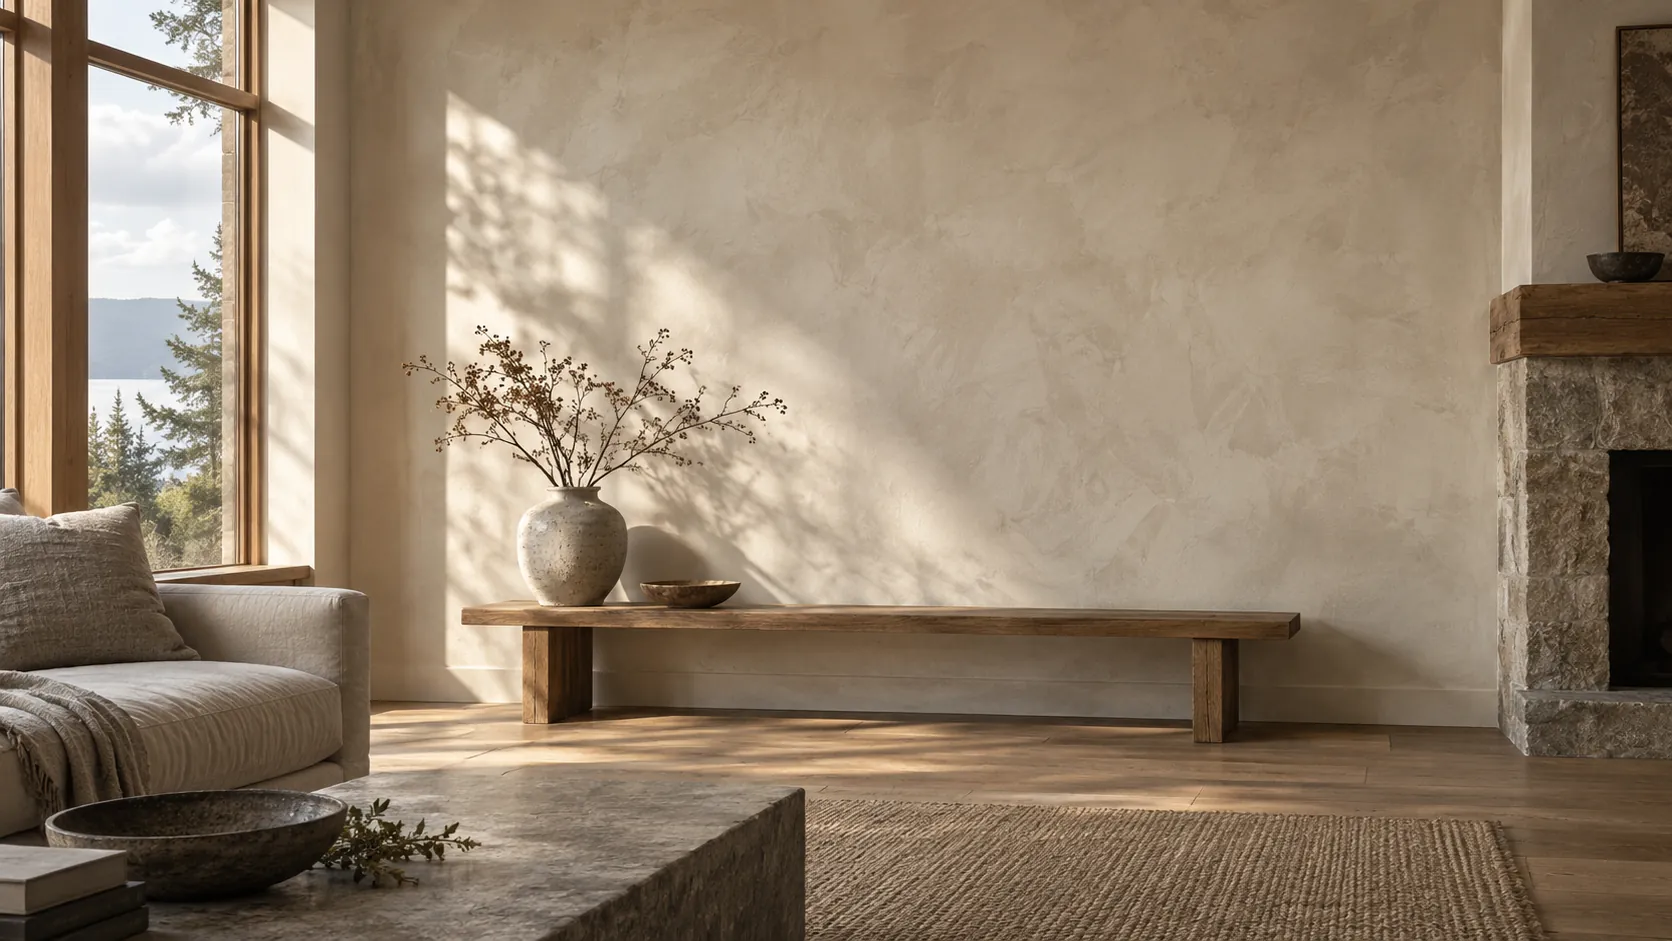
A chalk-white limewashed wall with a compact walnut sideboard and a stoneware vase of dried branches
Chalk-white limewash wall with a walnut sideboard
Ivory limewash on a living-room wall in low morning light
Warm ivory limewash wall in a living room
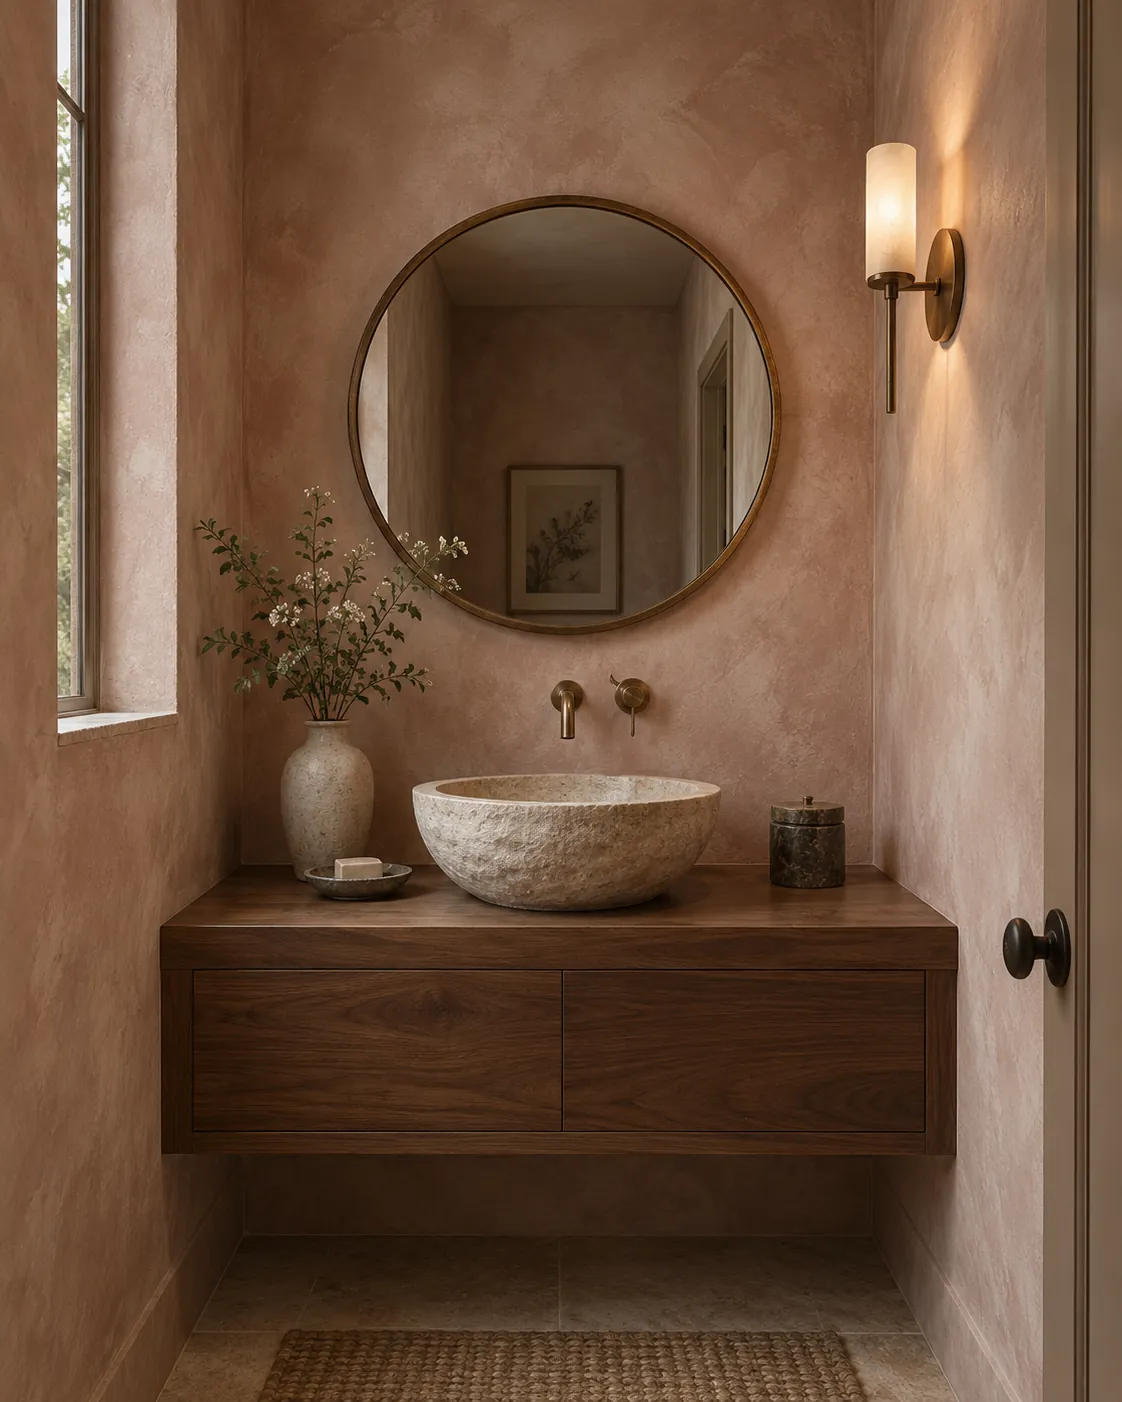
Powder room with clay-pink limewash walls and a carved stone basin
Clay-pink limewash in a powder room
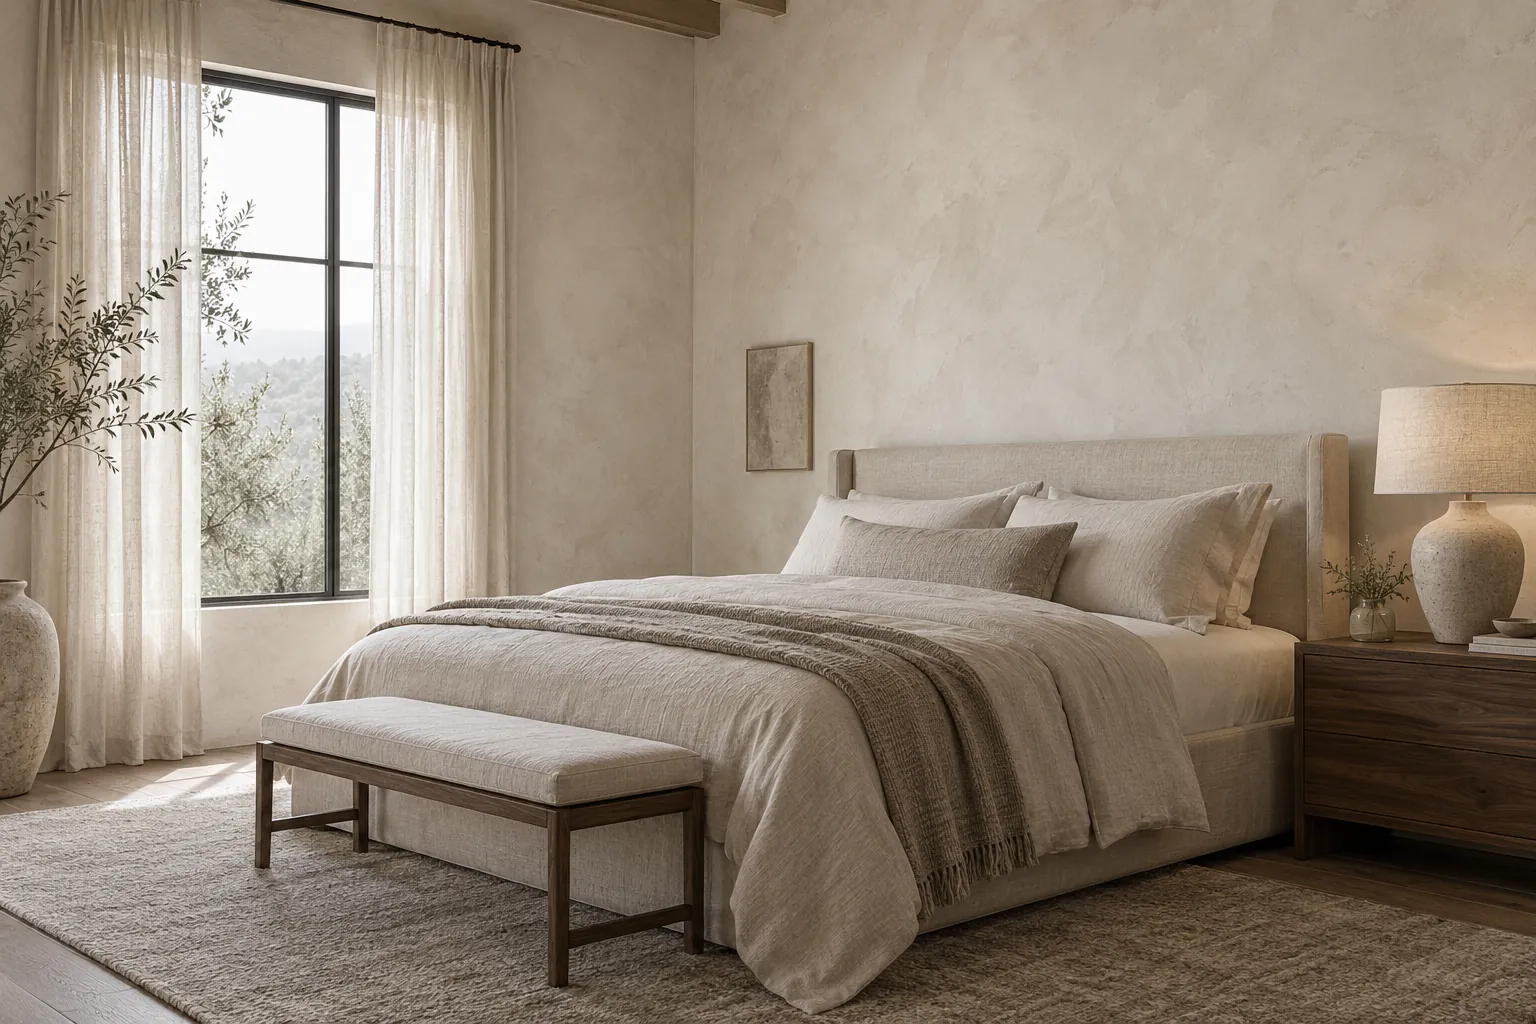
Bedroom with putty-white limewash walls
Putty-white limewash in a bedroom
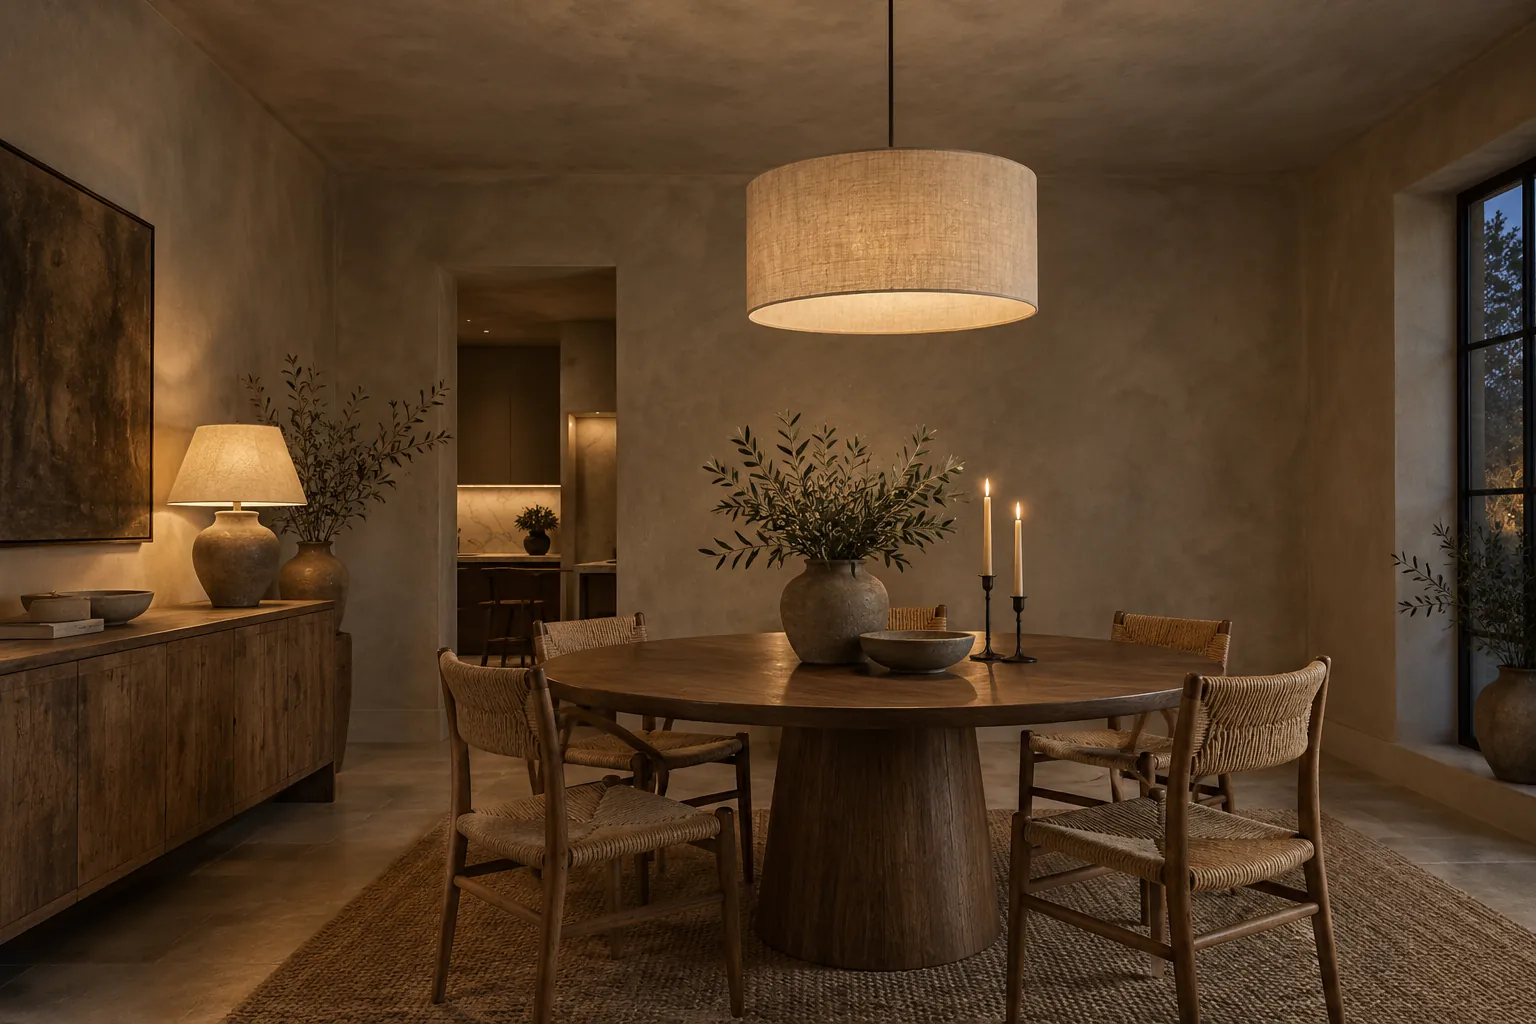
Dining room with walls and ceiling in mushroom limewash
Deep mushroom limewash on walls and ceiling
Close view of clouded limewash texture
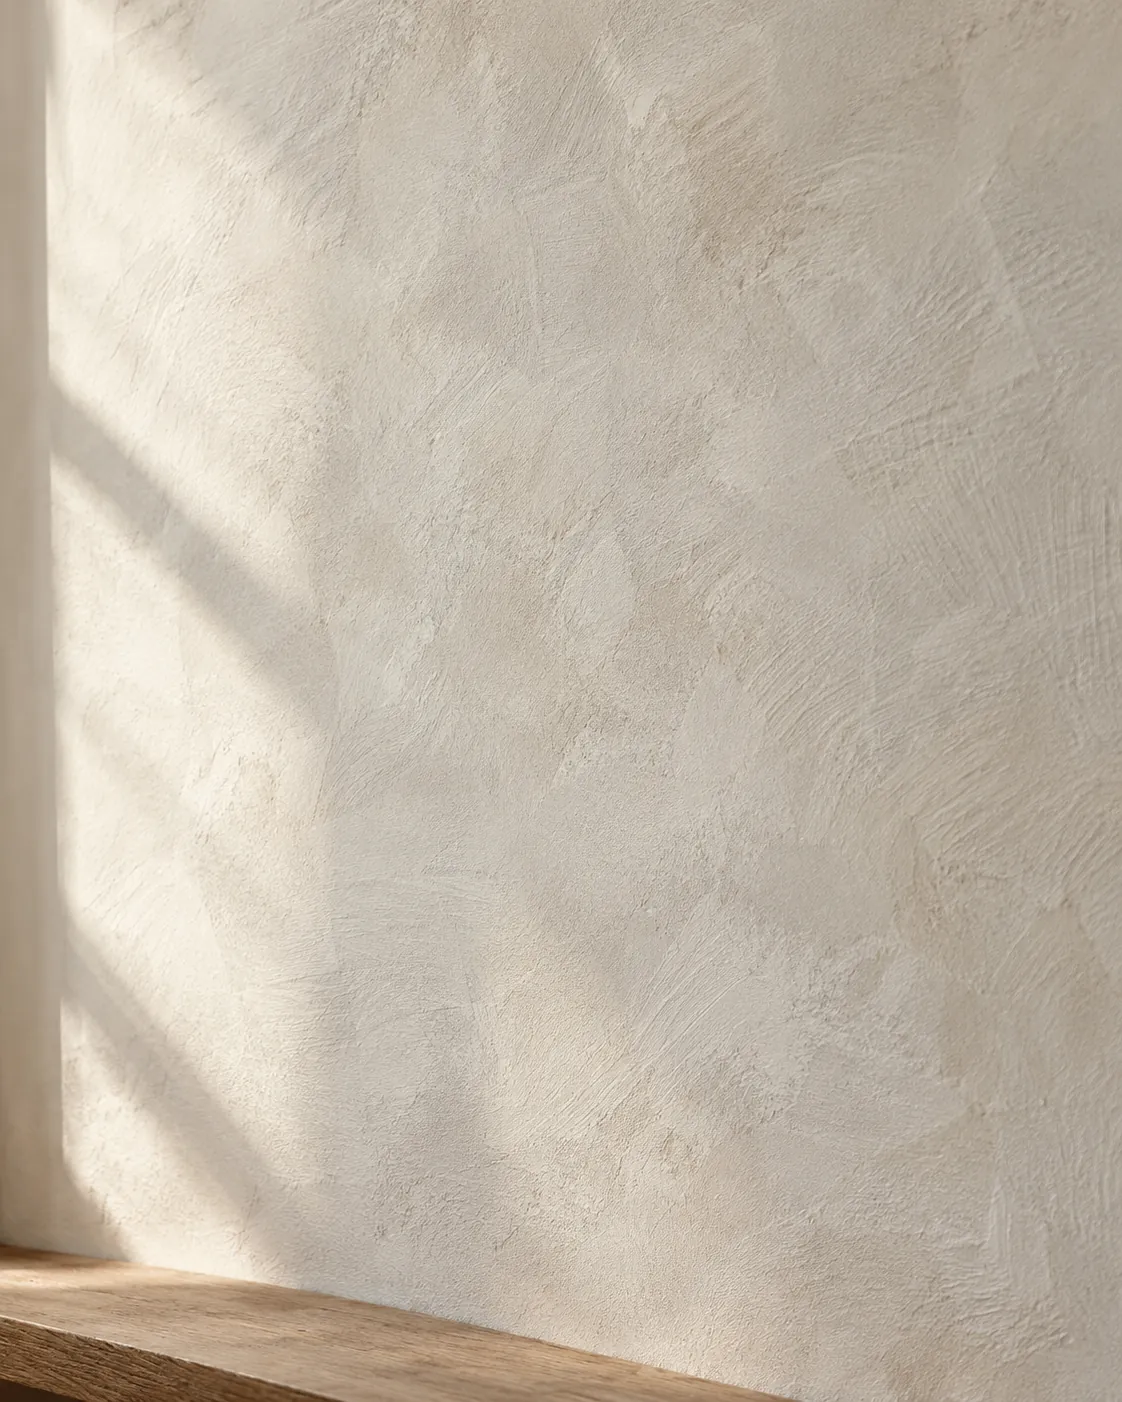
Close detail of limewash brush movement
Kitchen with limewash range hood and wall behind open shelves
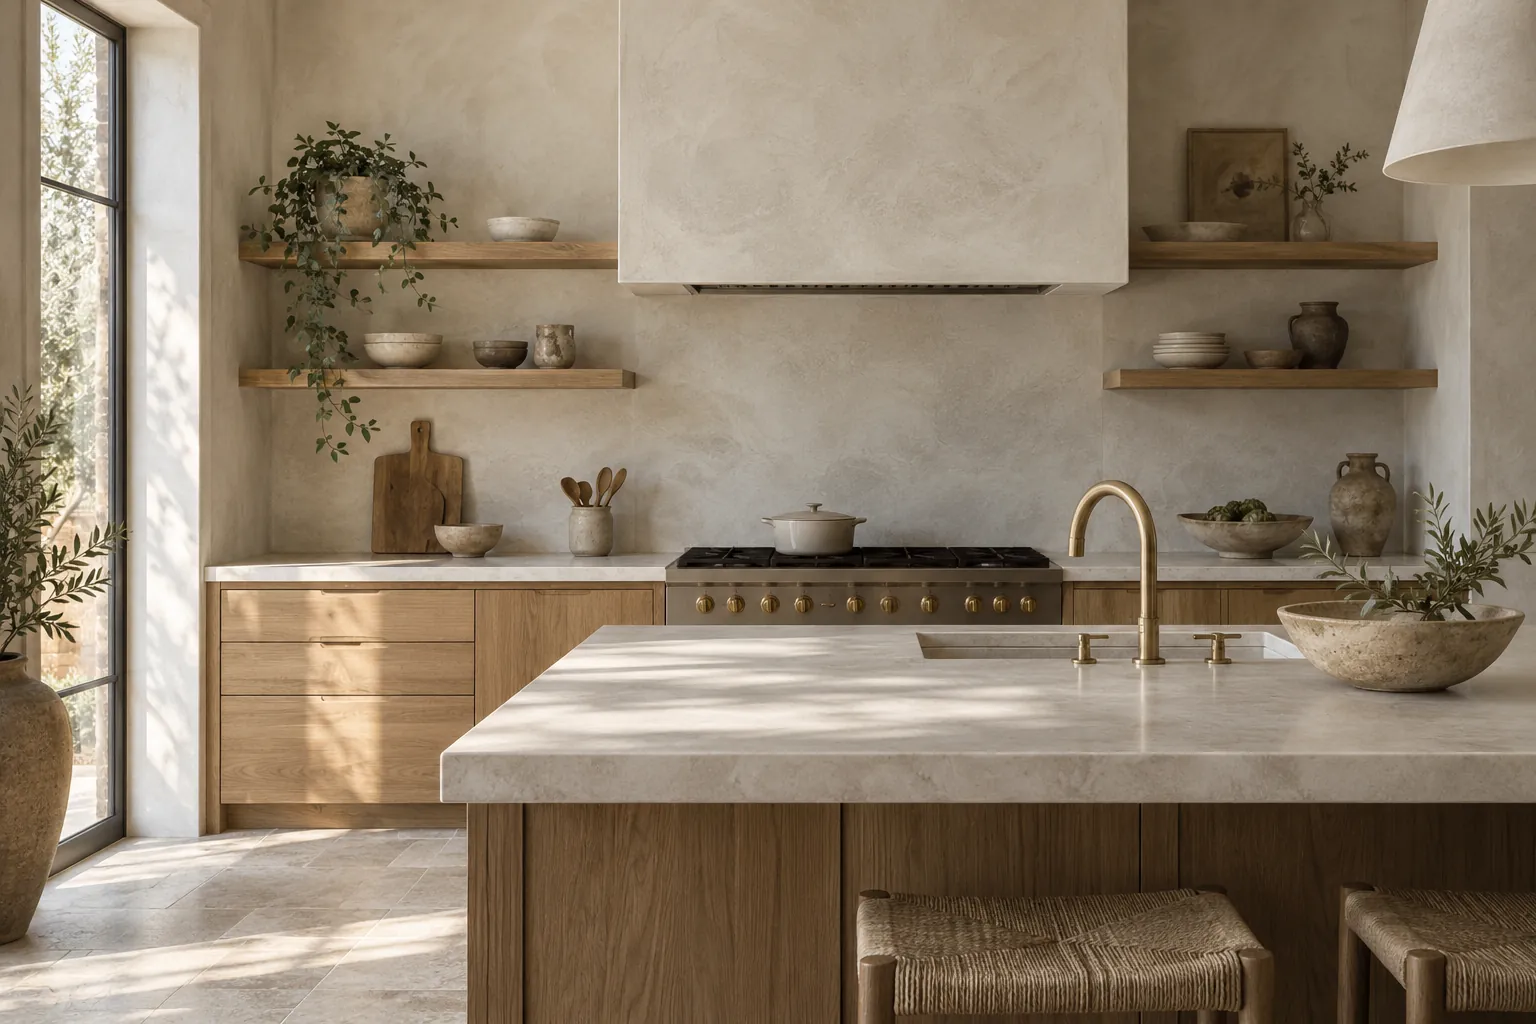
Creamy limewash on a range hood and kitchen wall

Commercial interiors and more surfaces

Restaurant dining room with taupe limewash walls
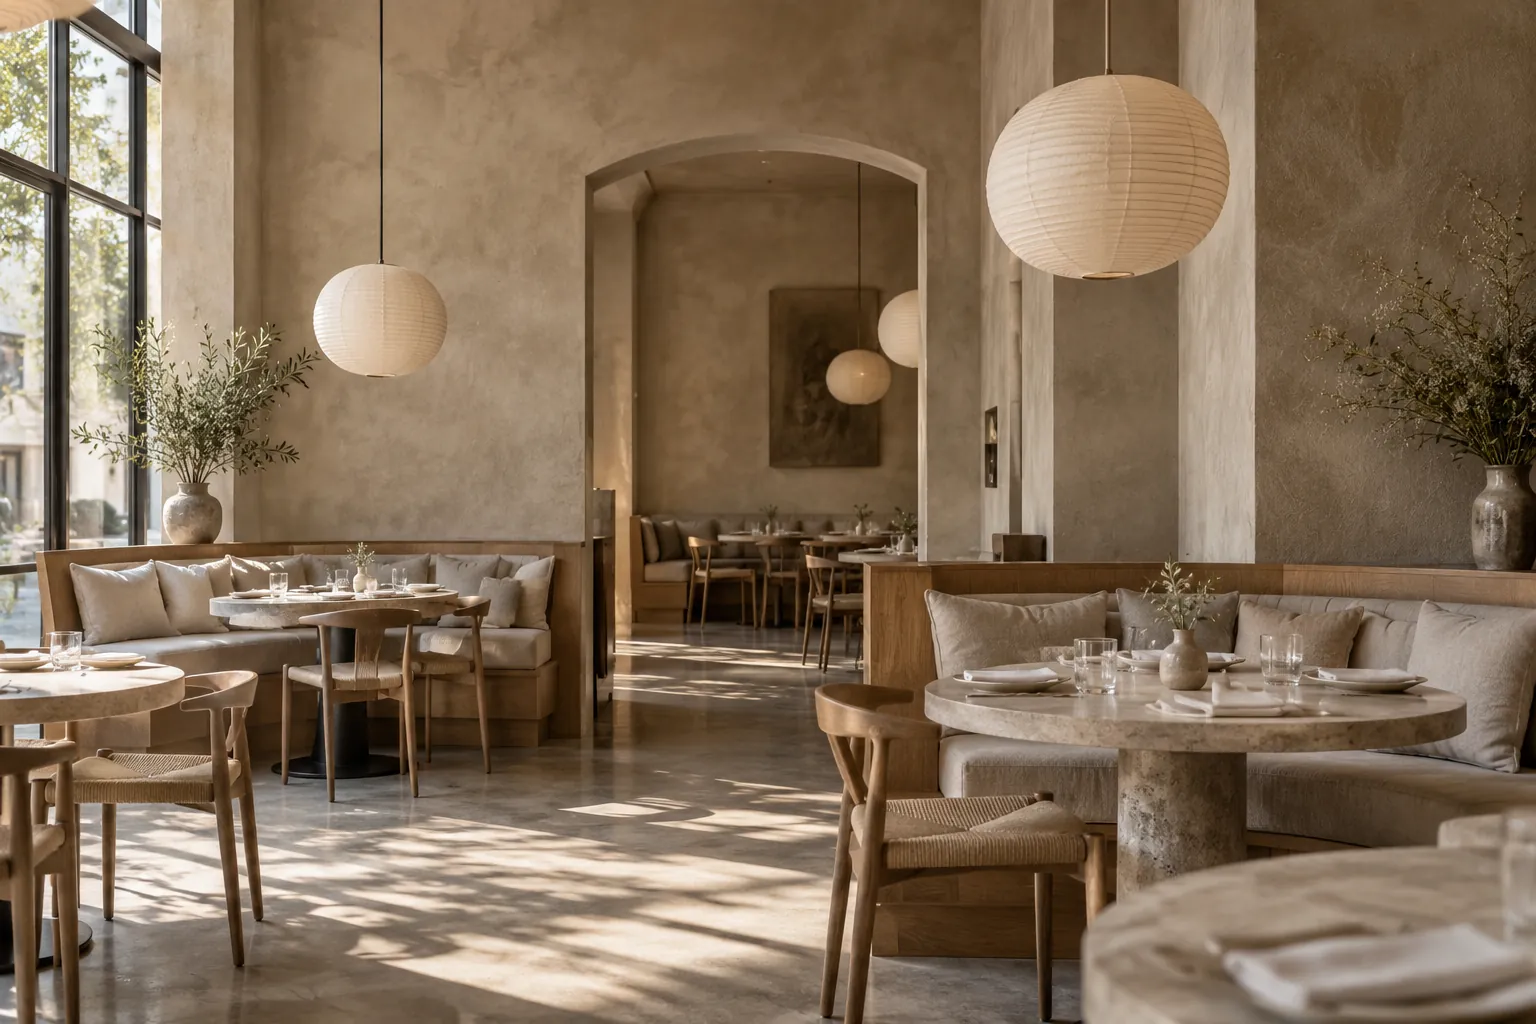
Warm taupe limewash in a restaurant dining room
Lobby with a curved gray-green limewash feature wall
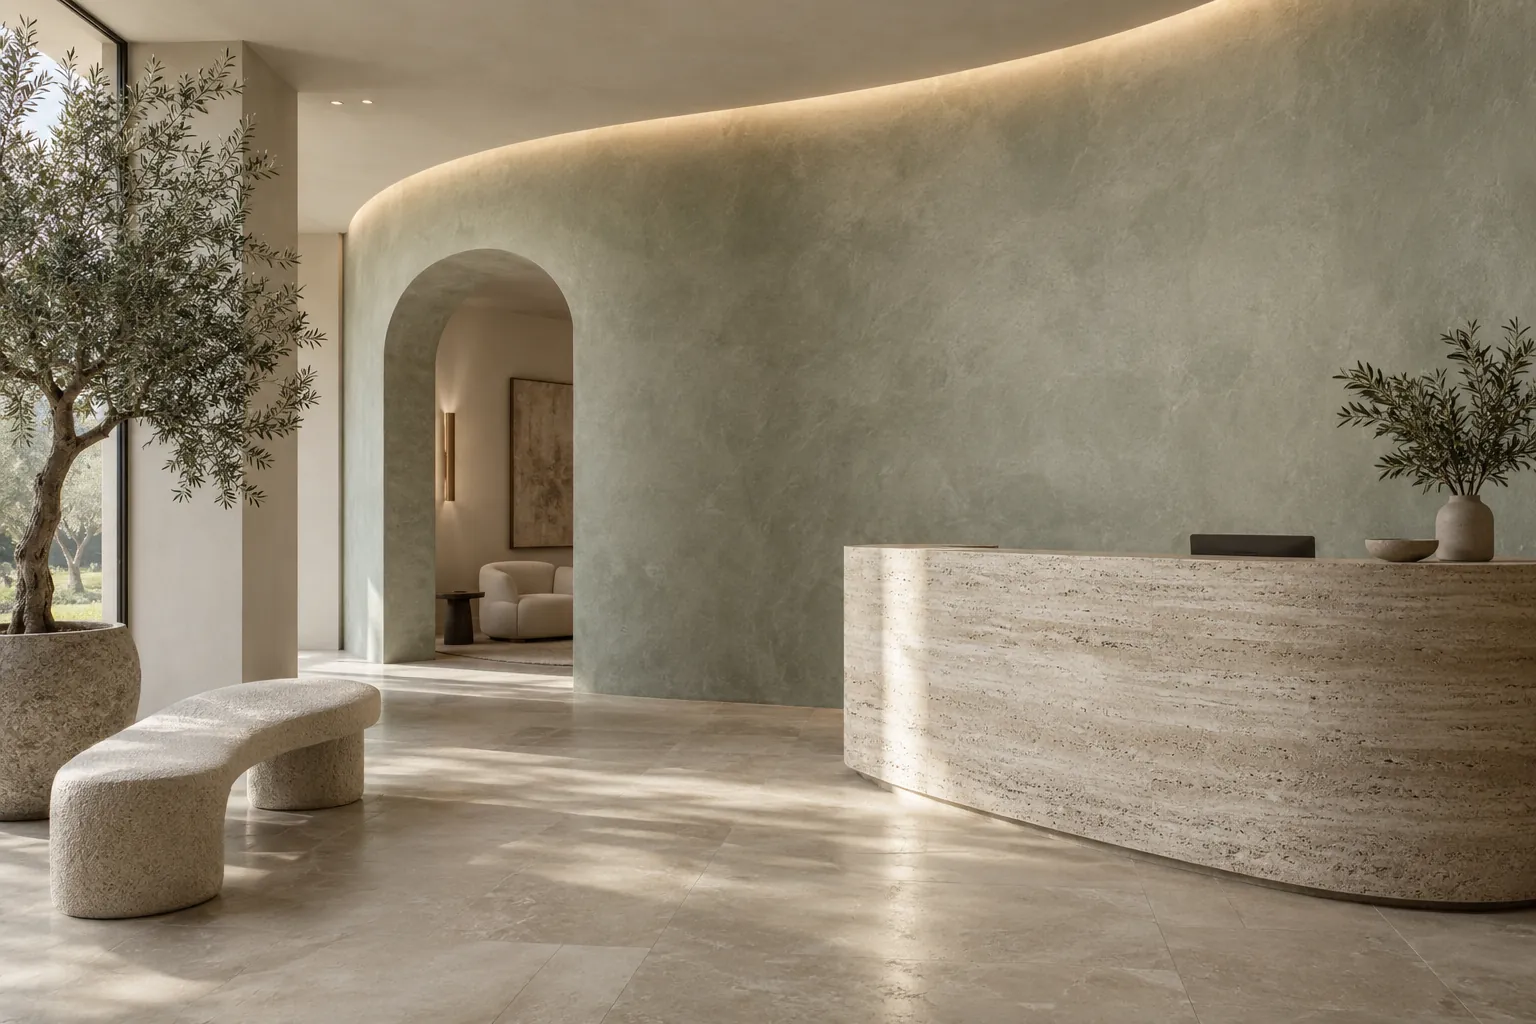
Gray-green limewash on a curved lobby wall
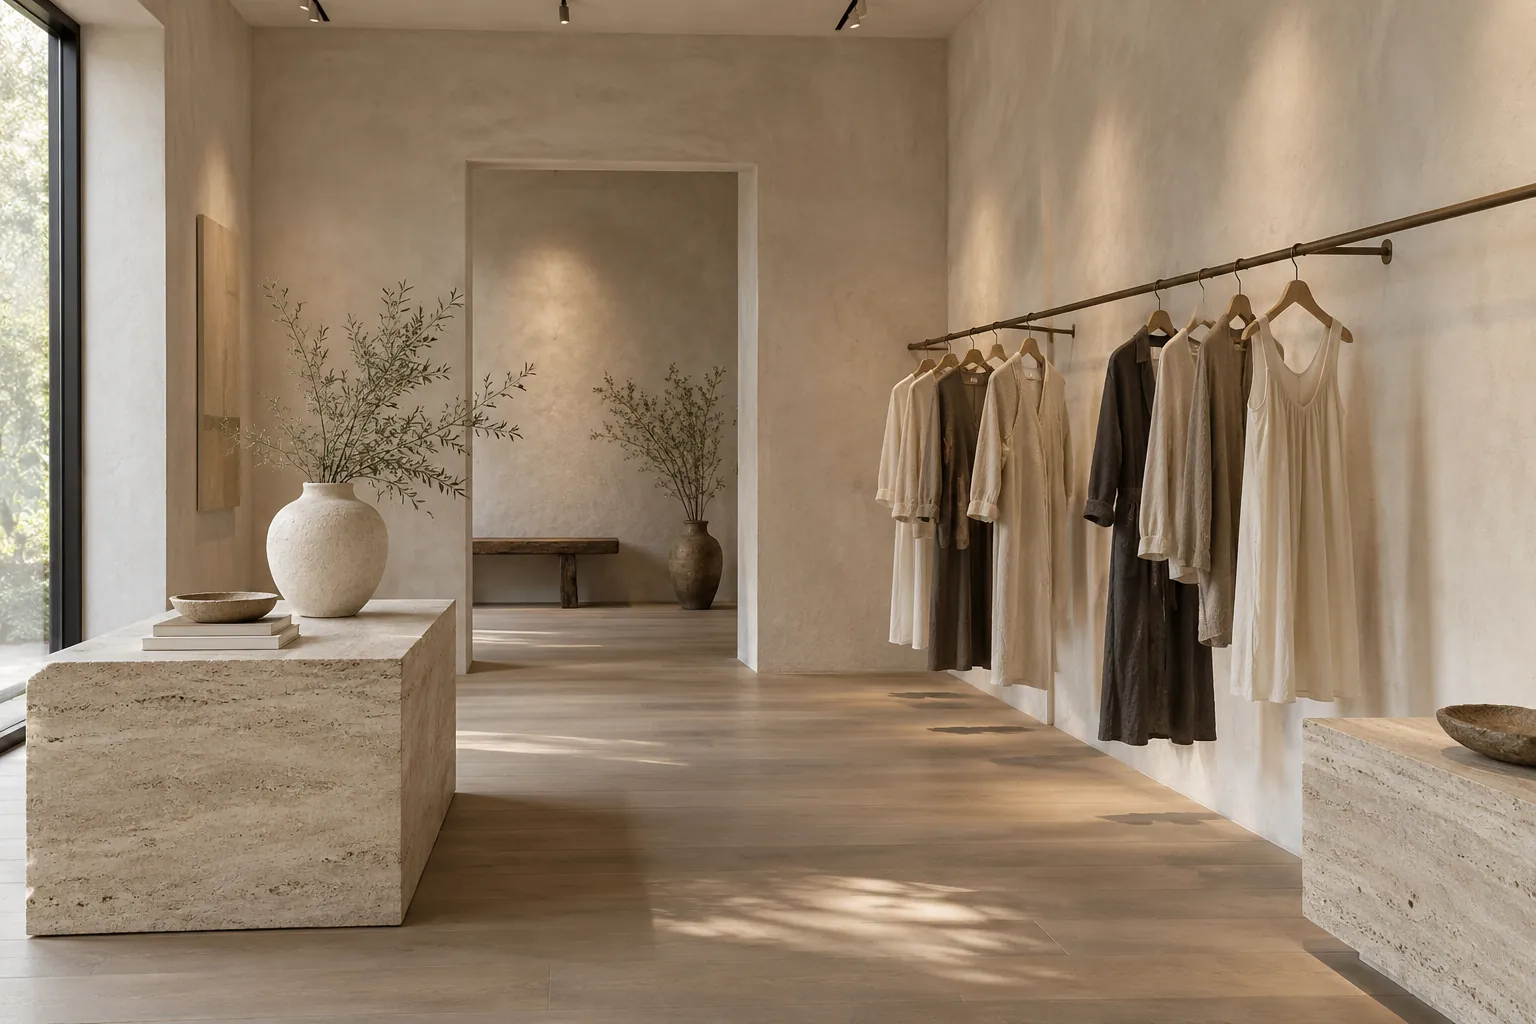
Boutique interior with pale clay limewash walls
Pale clay limewash in a boutique interior
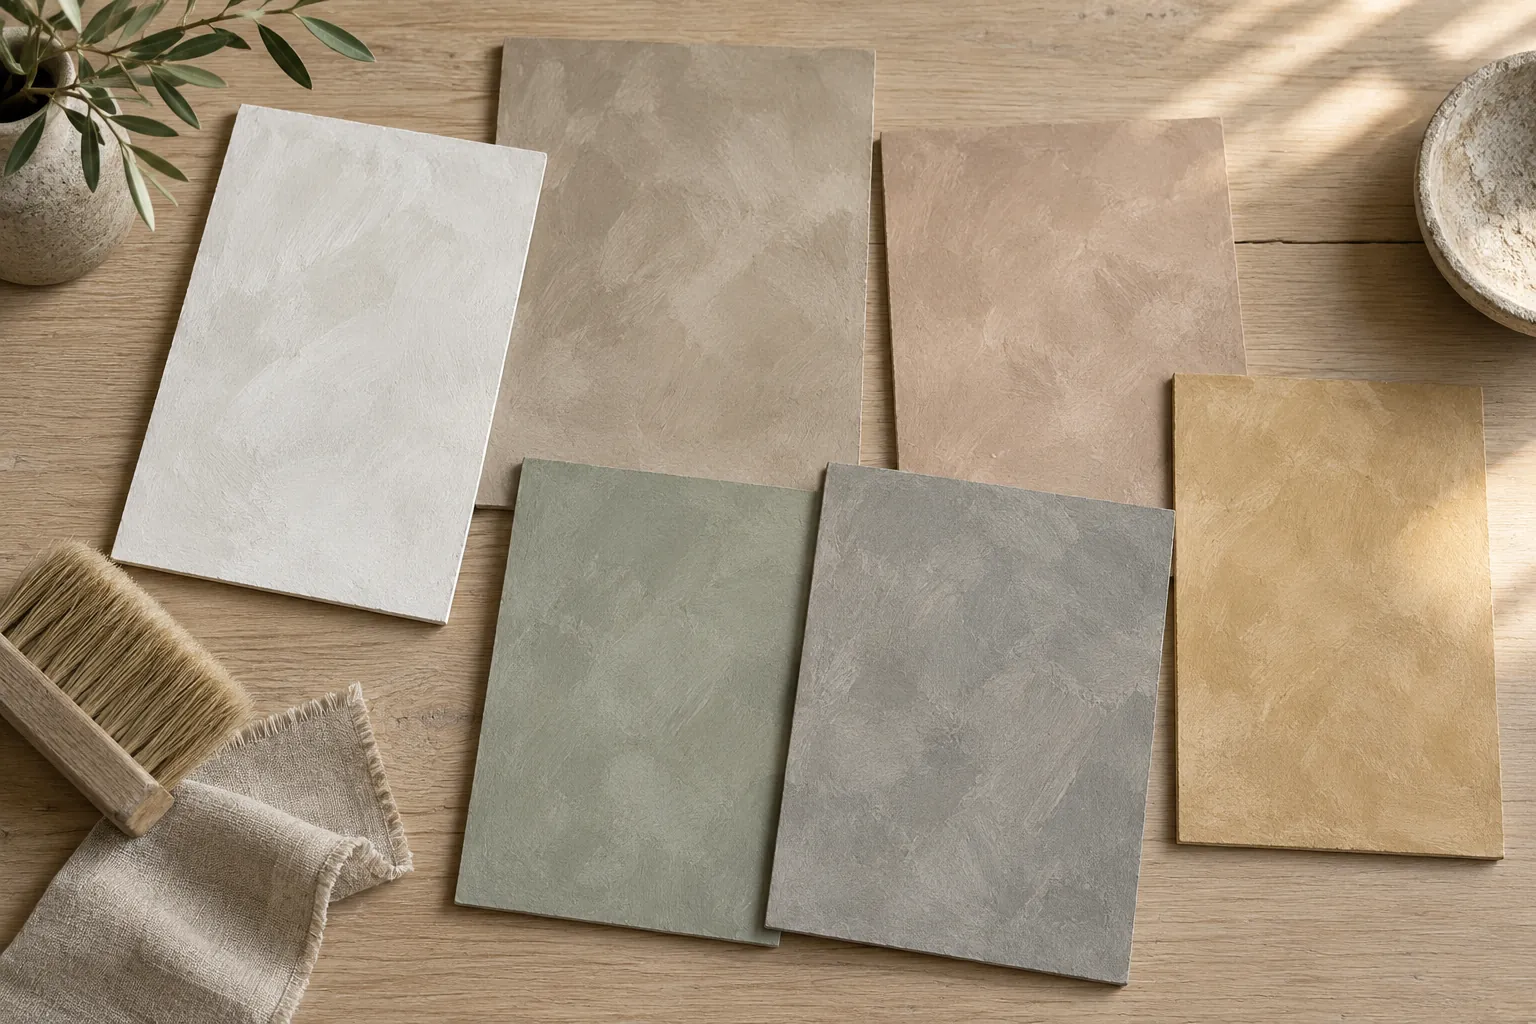
Limewash sample boards in six mineral colors
Hand-brushed limewash sample boards
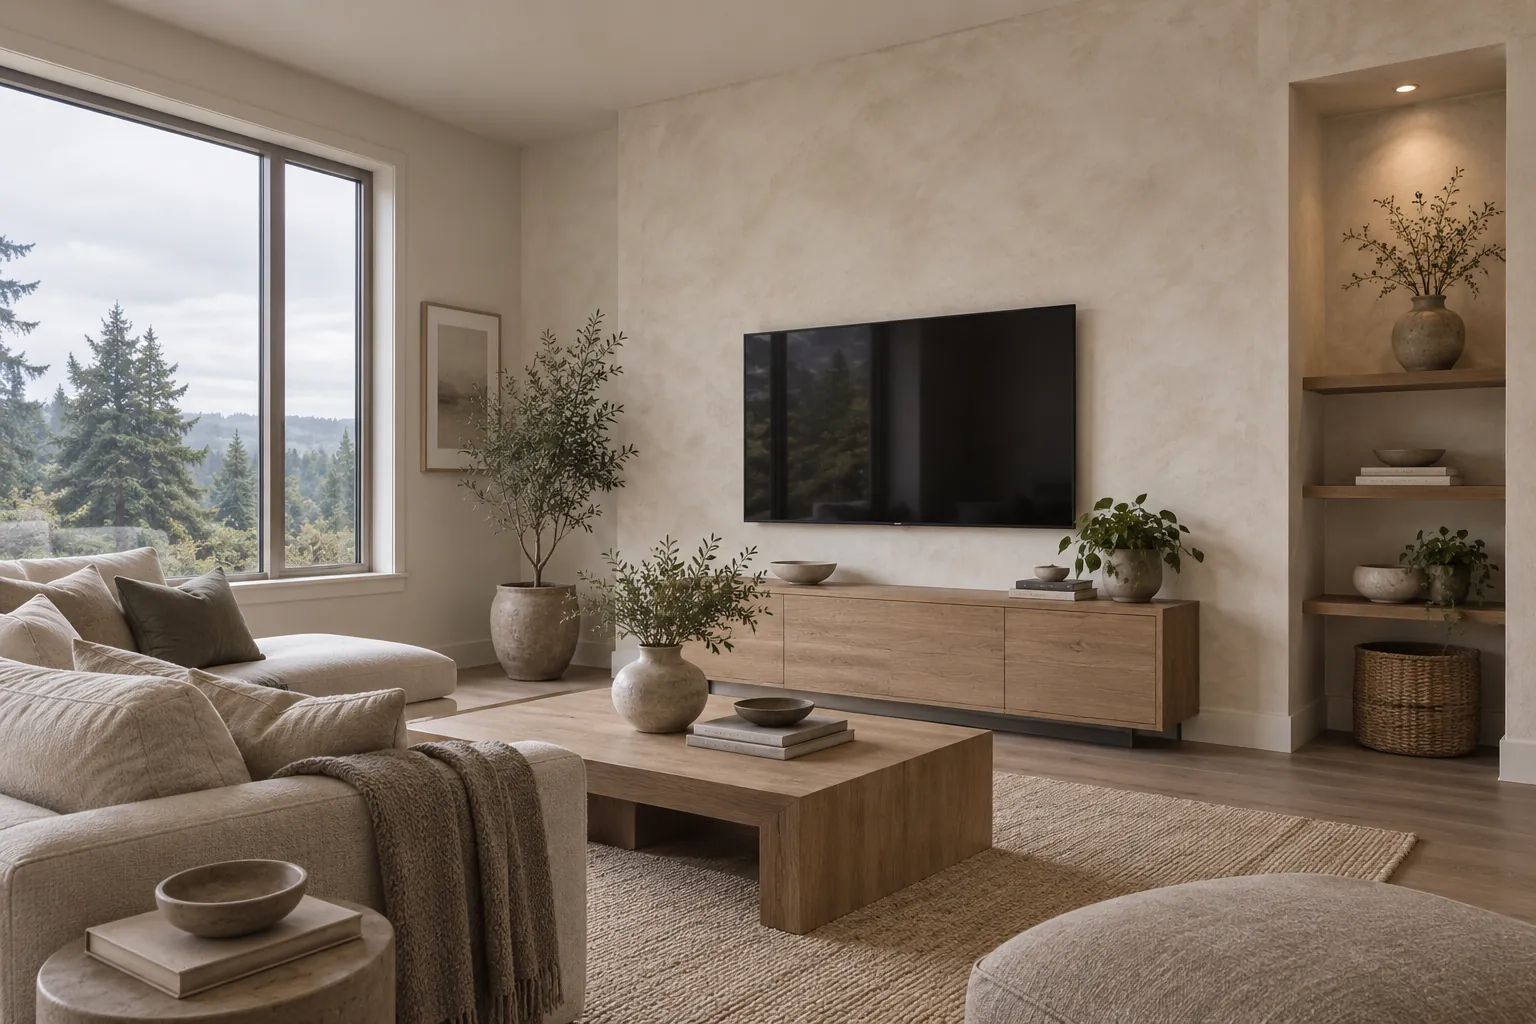
Family room with limewash over primed drywall
Warm-white limewash over primed drywall
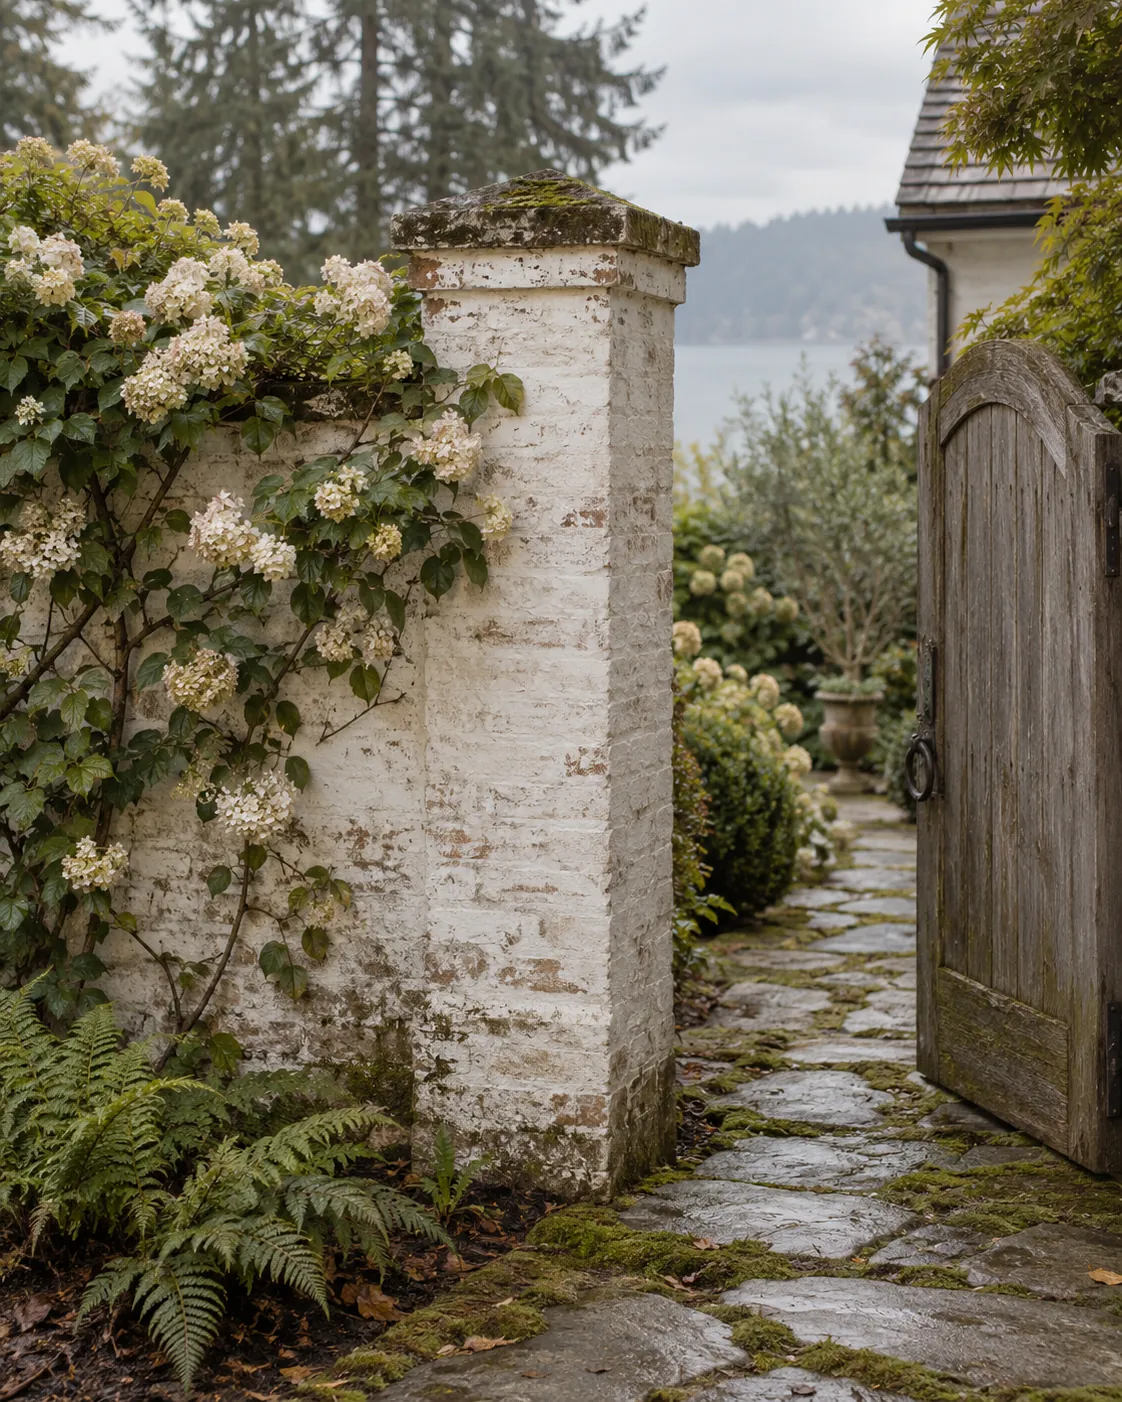
Brick garden pier with weathered limewash
Weathered white limewash on a brick garden pier

Request a free limewash quote

Tell us which surfaces you have in mind, roughly how big they are and where the property is. We'll get back to you soon with an estimate or any questions we have. Estimates are free and there's no obligation.

Call (425) 307-5040

Call (425) 307-5040